


Homemade Halloween Slime Recipes: 4 Homemade Slime Recipes
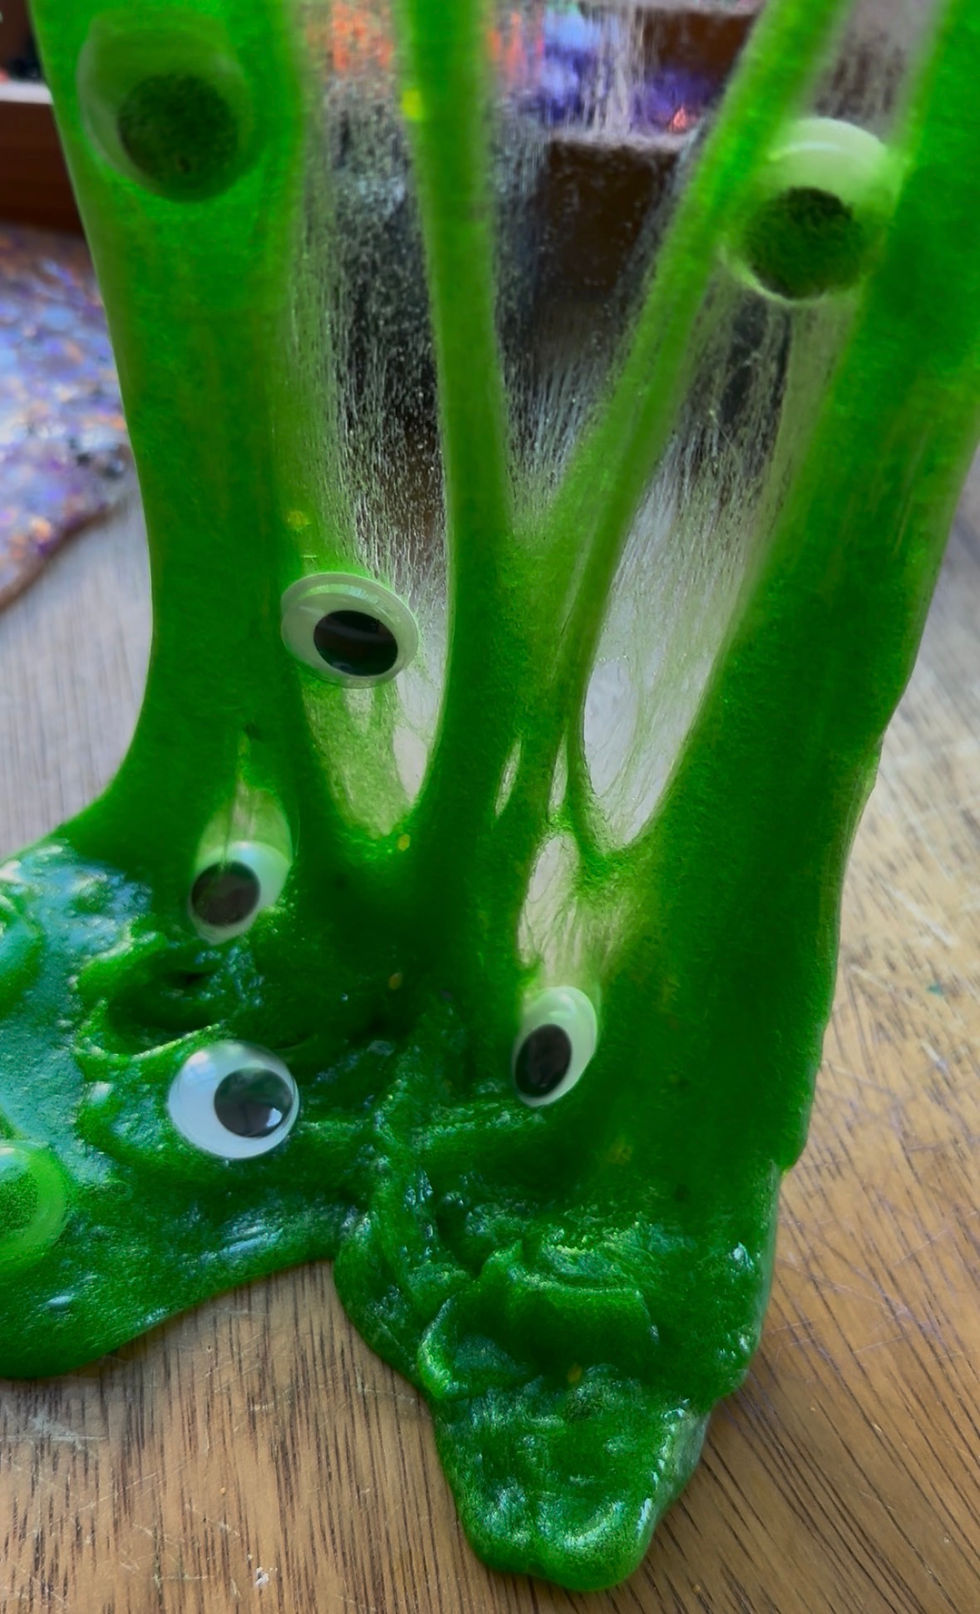
There is nothing better than homemade slime. It's soft and squishy and stretchy and you get to pick the colors, the texture and the glitter!!
If you are thinking of trying a spooky sensory slime recipe this Halloween, you are in luck! Here are our four favorites, they never disappoint!

Head to our Instagram page to see more ways to learn & play at home or in the classroom! We love to see you play & share the joy of hands-on crafts & activities at home. Be sure to tag @aplayfilledlife on Instagram or Facebook if you try any of our ideas!!
XO Gina
Storebought slime is not our thing. It is sticky and messy and adheres to everything in its path! We use our own recipe so that we still get the sensory-goodness that comes with exploring slime!
You can add food coloring, or not.
You can add glitter, or not.
Not only is it fun and engaging (and easy to differentiate!) but it works on a ton of skills as well.
Materials:
5 ounces of clear, liquid glue
1/2 tablespoon of baking soda
1 tablespoon of contact lenses solution to start, plus a few drops as needed.
Glitter (optional)
Food coloring (optional)
Mixing bowl
Mixing cup/spoon
Sensory tray or bowl
The type of contact lenses solution matters! This serves as your activator and what turns your slime into the stretchy, smooth texture that it is! Be sure to look at the ingredients; it needs to contain boric acid!
Step 1: Pour the glue into the bowl.
Step 2: Add the baking soda, food coloring and glitter (if using) and mix well.
Step 3: Slowly add the contact lenses solution and stir. As you continue to stir, you will see the slime begin to take shape. Once it is formed into a ball, pulling away from the sides of the bowl, it is ready!
Step 4: Grab the slime and knead well to mix everything together.
Step 5: Drop it on your sensory tray or bowl and PLAY!!!
Store in an airtight container at room temperature, away from heat and direct sunlight. It can last several weeks when kept clean and stored properly.

Materials:
1/2 cup of white liquid glue
1/2 teaspoon of baking soda
1 tablespoon of contact lenses solution to start, plus a few drops as needed.
3 cups shaving cream
Glitter (optional)
Food coloring (optional)
Mixing bowl
Mixing cup/spoon
Sensory tray or bowl
The type of contact lenses solution matters! This serves as your activator and what turns your slime into the stretchy, smooth texture that it is! Be sure to look at the ingredients; it needs to contain boric acid!
Step 1: Pour the glue into the bowl.
Step 2: Add the baking soda, food coloring and glitter (if using) and mix well.
Step 3: Add the shaving cream. Slowly add the contact lenses solution and stir. As you continue to stir, you will see the slime begin to take shape. Once it is formed into a ball, pulling away from the sides of the bowl, it is ready!
Step 4: Grab the slime and knead well to mix everything together.
Step 5: Drop it on your sensory tray or bowl and PLAY!!!
Store in an airtight container at room temperature. Enjoy it freshly made for the fluffiest texture! The fluffiness usually settles within 1–2 days. The remaining slime may still be enjoyed afterward, but it will feel less fluffy.
Spider Web Slime:

Materials:
½ cup of white Elmer’s school glue
½ teaspoon of baking soda
3 tablespoons of water, plus water to prepare the instant snow
1 tablespoon of contact lenses solution to start, plus a little more as needed
1 scoop of instant snow powder, prepared with water according to the package directions
Mixing bowl
Small bowl for preparing the snow
Measuring cup and spoons
Mixing spoon
Sensory tray or bowl
The type of contact lenses solution matters! Choose a multipurpose solution containing boric acid. This works with the baking soda to turn the glue into slime.
Step 1: Pour the glue and 3 tablespoons of water into your mixing bowl. Stir well.
Step 2: Add the baking soda and stir until fully mixed.
Step 3: Slowly add 1 tablespoon of contact lenses solution while stirring. Keep mixing until the slime starts pulling away from the sides of the bowl.
Step 4: Knead the slime well. If it is still very sticky after kneading, add a few drops of contact lens solution at a time. Go slowly! Too much can make your slime stiff.
Step 5: In a separate bowl, prepare a small batch of instant snow according to the package directions. Let it absorb the water fully.
Step 6: Add the prepared snow to your slime a little at a time, kneading well between additions. You may not need all of it! Slowly stretch the slime apart and watch for those wispy, web-like strands.
Step 7: Place it on your sensory tray and PLAY! Try stretching it slowly between your hands to make your own spooky spider webs.
Store in an airtight container at room temperature, away from heat and direct sunlight. Expect several days of play, potentially longer with proper storage. The instant snow may become drier or more crumbly over time.
Water Slime:

Materials:
1 cup warm water
½ teaspoon guar gum powder
½ teaspoon baking soda
1 teaspoon contact lenses solution to start, plus a few drops as needed
Food coloring or glitter (optional)
Mixing bowl
Measuring cup and spoons
Whisk and mixing spoon
Sensory tray or bowl
The type of contact lenses solution matters! Choose a multipurpose solution containing boric acid and sodium borate. It works with the baking soda to help turn your guar gum mixture into slime—no glue needed!
Step 1: Pour the warm water into your mixing bowl. Slowly sprinkle in the guar gum while whisking continuously. Adding it gradually helps prevent lumps!
Step 2: Add food coloring or glitter if using and mix well. Let the mixture thicken before moving on.
Step 3: Stir in the baking soda. Slowly add 1 teaspoon of contact lenses solution while stirring until the mixture begins coming together.
Step 4: Gently work the slime with your hands. If it is still very sticky, add a few drops of contact lens solution at a time, mixing well between additions.
Step 5: Place it on your sensory tray and PLAY! Squish, stretch, and explore the jiggly texture.
APFL Tip: This slime feels different from glue-based slime! Expect a softer, jigglier texture rather than a firm ball.
Download a FREE printable of each recipe HERE.
Store in an airtight container between play sessions. Best enjoyed the day you make it! It may last another day or two before becoming watery and losing its texture.
Adult supervision required. These recipes are not edible or taste-safe and are not intended for children under 3 or children who still mouth materials. Wash hands before and after play, and stop if irritation occurs. Storage times are estimates. Discard slime if you notice mold, an unusual smell, or a major change in texture.


Comments